Historically setting up Japanese input on Linux has been a trial-and-error affair with much forum searching, dark config file incantations and other black magic.
Luckily with Kubuntu 12.04 getting setup with Japanese input has become a very simple process
I am going to make a few assumptions before we get going. I am going to assume that:
- You have installed Kubuntu 12.04 or later
- You installed the English version.
- You have not yet tried to setup Japanese text input yet.
The reason for 1. is simply that I have not tested this on any earlier versions. Feel free to give it a go and report back, but no guarantees.
The reason for 2. is again, because I have not tested it with other languages. Again feel free to give it a go and report back, but no guarantees.
The reason for 3. is because, historically, attempting ot get Japanese input working with one method would intefere with other attempts using different methods. If you have already tried to setup Japanese input on your install then by all means try the below method, but if it doesn’t work I am afraid that I cannot help you. In this case the best (albeit annoying) option is to reinstall.
Right, with these caveats out of the way lets proceed.
1
| |
Run this command from the konsole. It will install the ibus-mozc software, this has worked for me without issues. I used to use some different software but this seems to be the way to go for 12.04 and up.
gnome-icon-theme is required by ibus-mozc (yes, even on KDE) but due to a missing dependency it is not installed so we need to specify it here.
After running the above command there is a good chance that you will need to restart, if prompted then please do so.
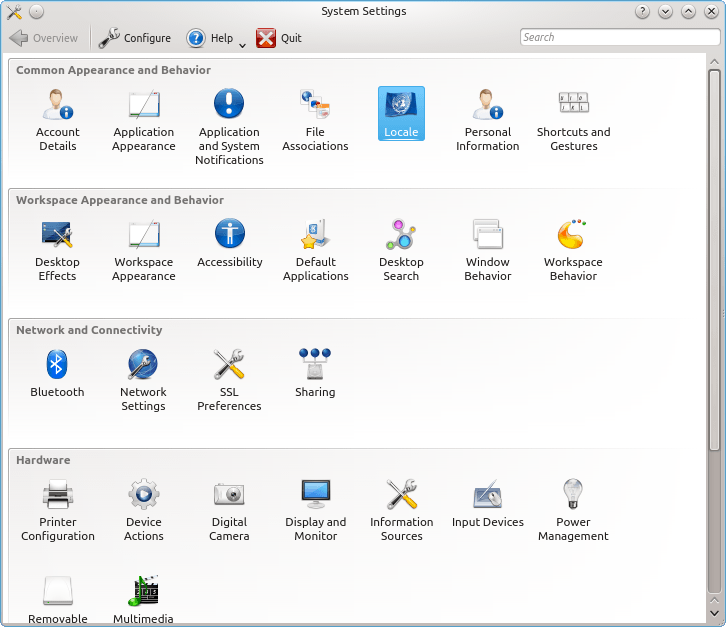
After rebooting go go to your system-settings and choose the locale option (It is at the top under the “Common Appearance and Behavior” section).
In the left-hand list select “System Languages” and then in the right hand window choose the “Set System Language” option.
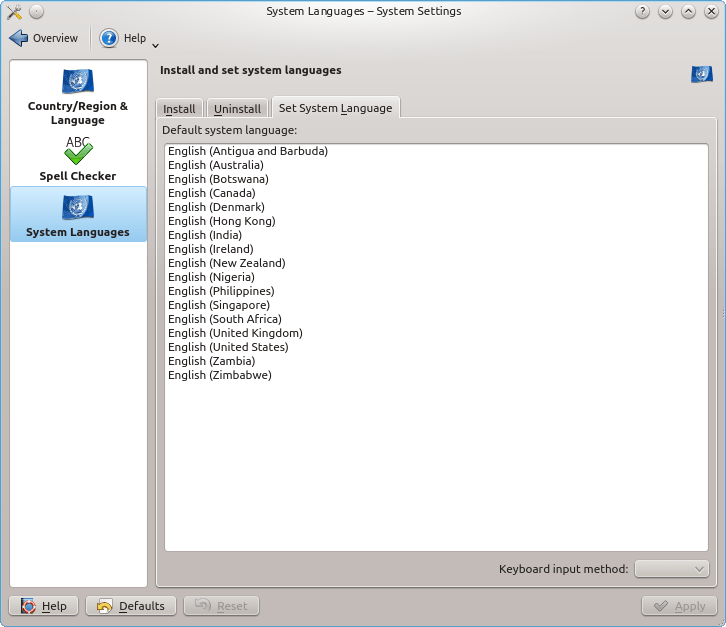
In my case I choose “English (United Kingdom)” (Rule Britannia!) and then in the bottom right of the window set the “Keyboard input method” to “ibus”
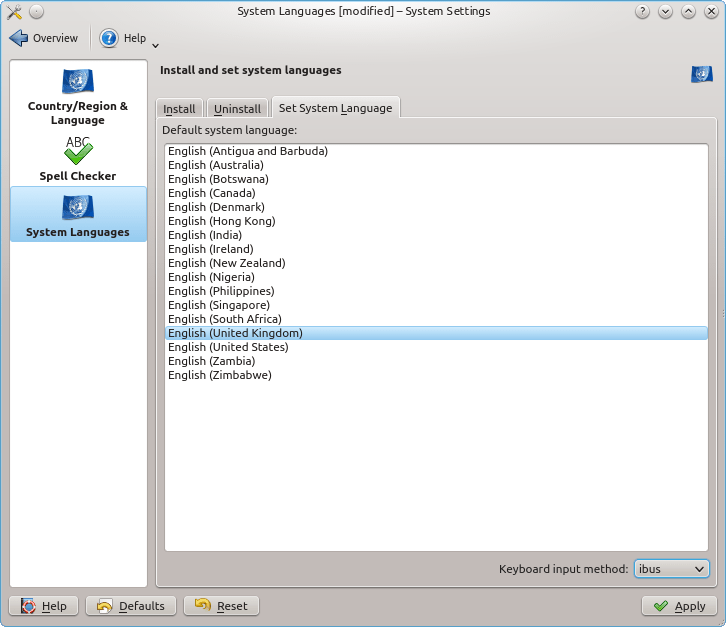
Clicking apply will require you to enter your root password.
Now we need to start ibus. One option is to reboot but the quicker way is to bring up the app launcher by pressing ALT+F2 then typing in “ibus”. Doing so will bring up the “IBus Input Method Framework” option, please click this.

Clicking the above will result in a little keyboard icon coming into life in your taskbar bottom right of the screen.

Right click on this icon and select “Preferences”. On the window that appears select the “Input Method” tab.
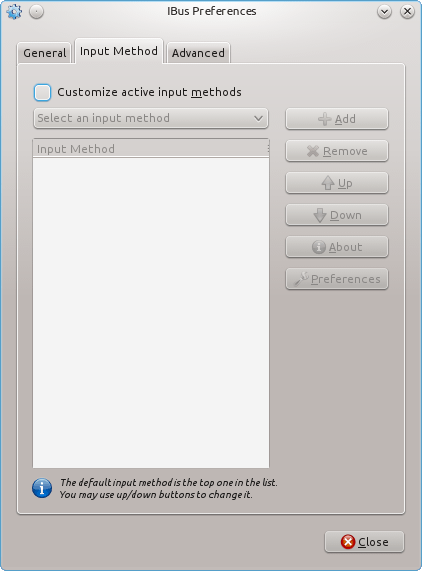
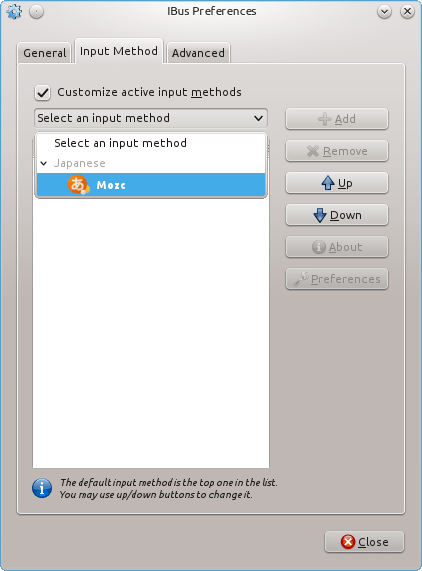
Check the “Customize active input methods” checkbox. Click the “Select an input method”, click the little arrow next to the greyed out “Japanese” text then click on the very orange icon with the “Mozc” text. Once that is done click “Add”.
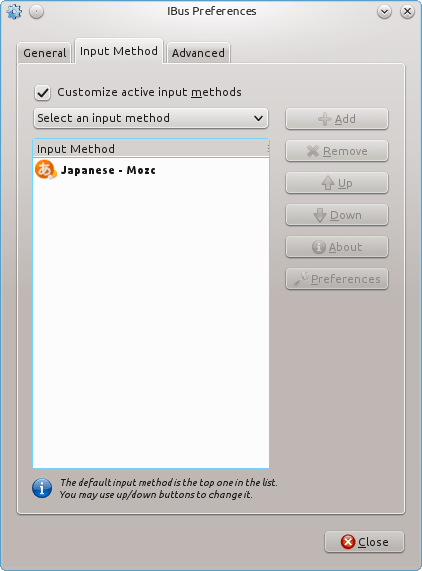
The orange icon with “Japanese - Mozc” should appear in the input method list. At this point you can close the window.
You should now be able to input Japanese! Open a text editor like Kate or a browser. Select an area where you can enter text then use CTRL+Space, the keyboard icon bottom right should switch to the orange icon and you can enter Japanese. よし!